Pre-Requisites
How to Build Your First HTML Page
Summary
We will be adding the ability to gather input from a web page. After a user types a note into the text input, they can then press a “Submit” button and see their note added to the page.
Adding an <input>
- Replace
h1with aninputelement
<html lang="en">
<head>
    <meta charset="UTF-8">
    <title>Notes</title>
</head>
<body>
    <h1>Hello World</h1>
    <input/>
</body>
</html>
If you open the index.html file again, (alternatively if it’s already open you can just refresh the page) you can see the input element in the top left of the page. You can click into it and type to your hearts content.

Adding a Submit Button
Below the input tag, insert the following:
<button>Submit</button>
Refresh the page and you should see a button with the text “Submit” on the page.

Responding to a Click
In order to perform some action when the user clicks the Submit button, we must add some scripting code to to web page. This is where JavaScript comes in. All major browsers have a “JavaScript engine” that executes the code on the user’s device.
Finding the Submit Button
For the most part, the JS code that you write for the browser will be triggered by some kind of event. In this case, the event we are interested in is when the Submit button is clicked.
To keep things simple, we will add our script directly to the index.html file. In a later assignment, we will go over how to separate you JS code from your HTML code.
<html lang="en">

<head>
    <meta charset="UTF-8">
    <title>Notes</title>
    <script>
        var submitBtn = document.getElementById("submit");
        console.log(submitBtn);
    </script>

</head>

<body>
    <input />
    <button id="submit" >Submit</button>
</body>

</html>
Here we added a <script> element inside the <head> tag. When the browser loads the page, it will see this tag and parse the contents as JS and immediately run the code inside.
In order to identify the submit button, we have added an id attribute. Once an element has an id you can use document.getElementById to find that element. The var keyword specifies that we are defining a new variable named submitBtn. JS most often uses camelCase when defining variable names. This makes it easier to read multi word variable names. The full line var submitBtn = document.getElementById("submit"); finds the <button> element by its id and stores a reference to this element in the submitBtn variable.
Programming can often feel difficult because it seems invisible. A common techinique in web development is to use the console.log function to log certain information out to the Developer Console. See this page for instructions on how to view your browser console.
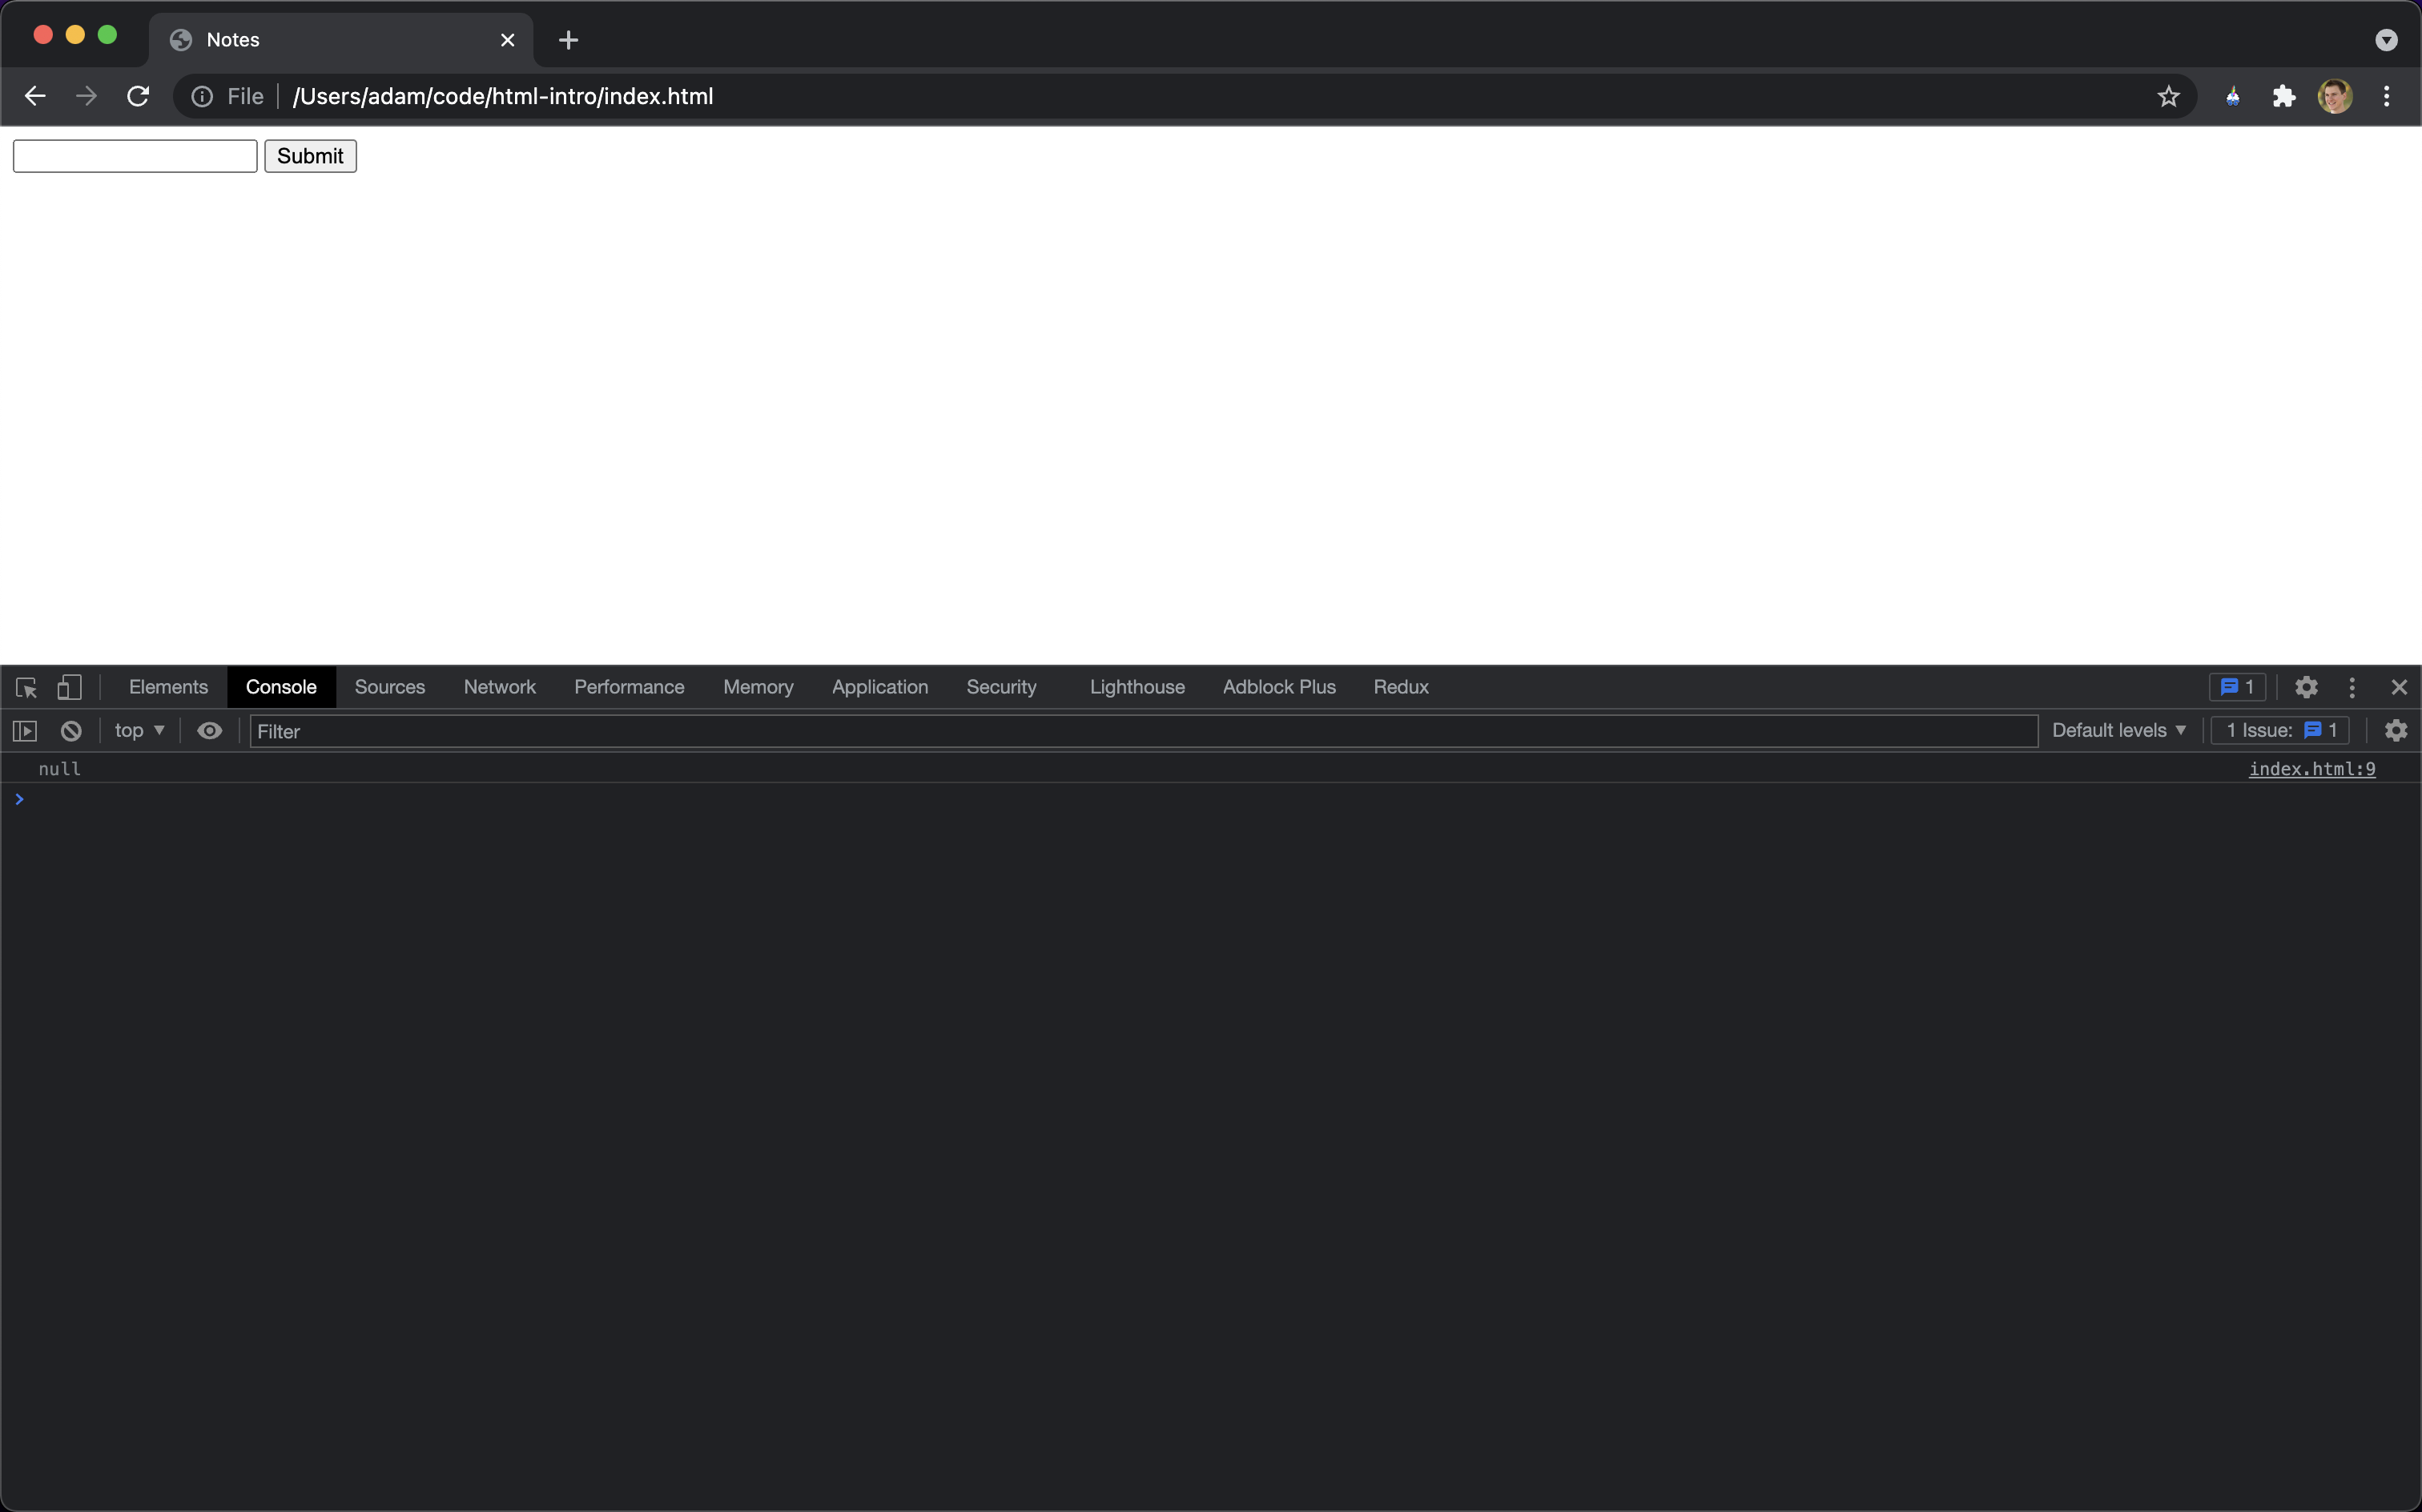
Unfortunately, the log we see reads null. null represents the intentional absence of any object value. In this case, it means that the call to document.getElementById("submit") didn’t find an element with that id.
Waiting For the Page to Load
This happens because this code will run before any of the elements are actually on the page. The browser runs through the index.html file ands creates things as soon as it sees them. In this case the <script> tag comes before the <button> so when the script runs, no button exists on the page.
In order to solve this issue, we add an event handler to the window.onload event. The window object lives in the “global” namespace. This means that it is accessible from anywhere in your script.
<script>
window.onload = function () {
    var submitBtn = document.getElementById("submit");
    console.log(submitBtn);
}
</script>
Here we have defined a function that will be executed when the browser fires the onload event.
In almost all programming languages it is common to indent the code inside a function. This increases legibility as you can more quickly determine what code is part of which function. In JS this is purely visual and having inconsistent spacing won’t cause issues running the code.
Refresh the page and now you should see <button id="submit">Submit</button> printed out in the console. Despite this looking like just text in the Console, it is actually a reference to the element on the page. If you hover over the text in the Console, you should see that it highlights the element on the page.

Adding an Event Listener
var submitBtn = document.getElementById("submit");
console.log(submitBtn);
submitBtn.addEventListener("click", function() {
    console.log("clicked");
});
Every HTML Element has an addEventListener function. There are an enormous amount of possible event types, but for now we’ll just focus on the click event as it is one of the most commonly used ones.
Refresh the page and now you should see “clicked” show up in the console after clicking the submit button.
Dynamically Adding an Element on Submit
Now that we can detect when the submit button is clicked, let’s add an element to the page with the text that was entered in the <input>.
<html lang="en">

<head>
    <meta charset="UTF-8">
    <title>Notes</title>
    <script>
        window.onload = function () {
            var submitBtn = document.getElementById("submit");
            var inputElement = document.getElementById("input");
            var notesElement = document.getElementById("notes");

            submitBtn.addEventListener("click", function () {
                console.log("clicked");
                var div = document.createElement("div");
                div.innerText = inputElement.value;
                notesElement.appendChild(div);

                inputElement.value = "";
            });
        }
    </script>
</head>

<body>
    <input id="input"/>
    <button id="submit">Submit</button>
    <div id="notes"></div>
</body>

</html>
We first add an id attribute to the input tag and then add a new div at the bottom of the page with the id “notes”. This notes div will be where we add notes when the user clicks the submit button.
document.createElement("div") is the JS way of creating an HTML element. In this example, it’s not possible to add these divs to the initial HTML as we don’t know how many there will be nor what content to put inside. This is referred to as dynamic content. Dynamic content is anything that changes depending on user interaction.
div.innerText = inputElement.value; sets the “innerText” of the div we just created. The innerText is simply the text that appears inside that div. inputElement.value grabs the current text inside the input element and the = assigns the input value to the div we created.
We then add the new div to the page with notesElement.appendChild(div);. This specifies to append the div to the end of the list of children of the notesElement.
Finally, now that we have stored the note we entered, we can clear the input element with inputElement.value = "";.
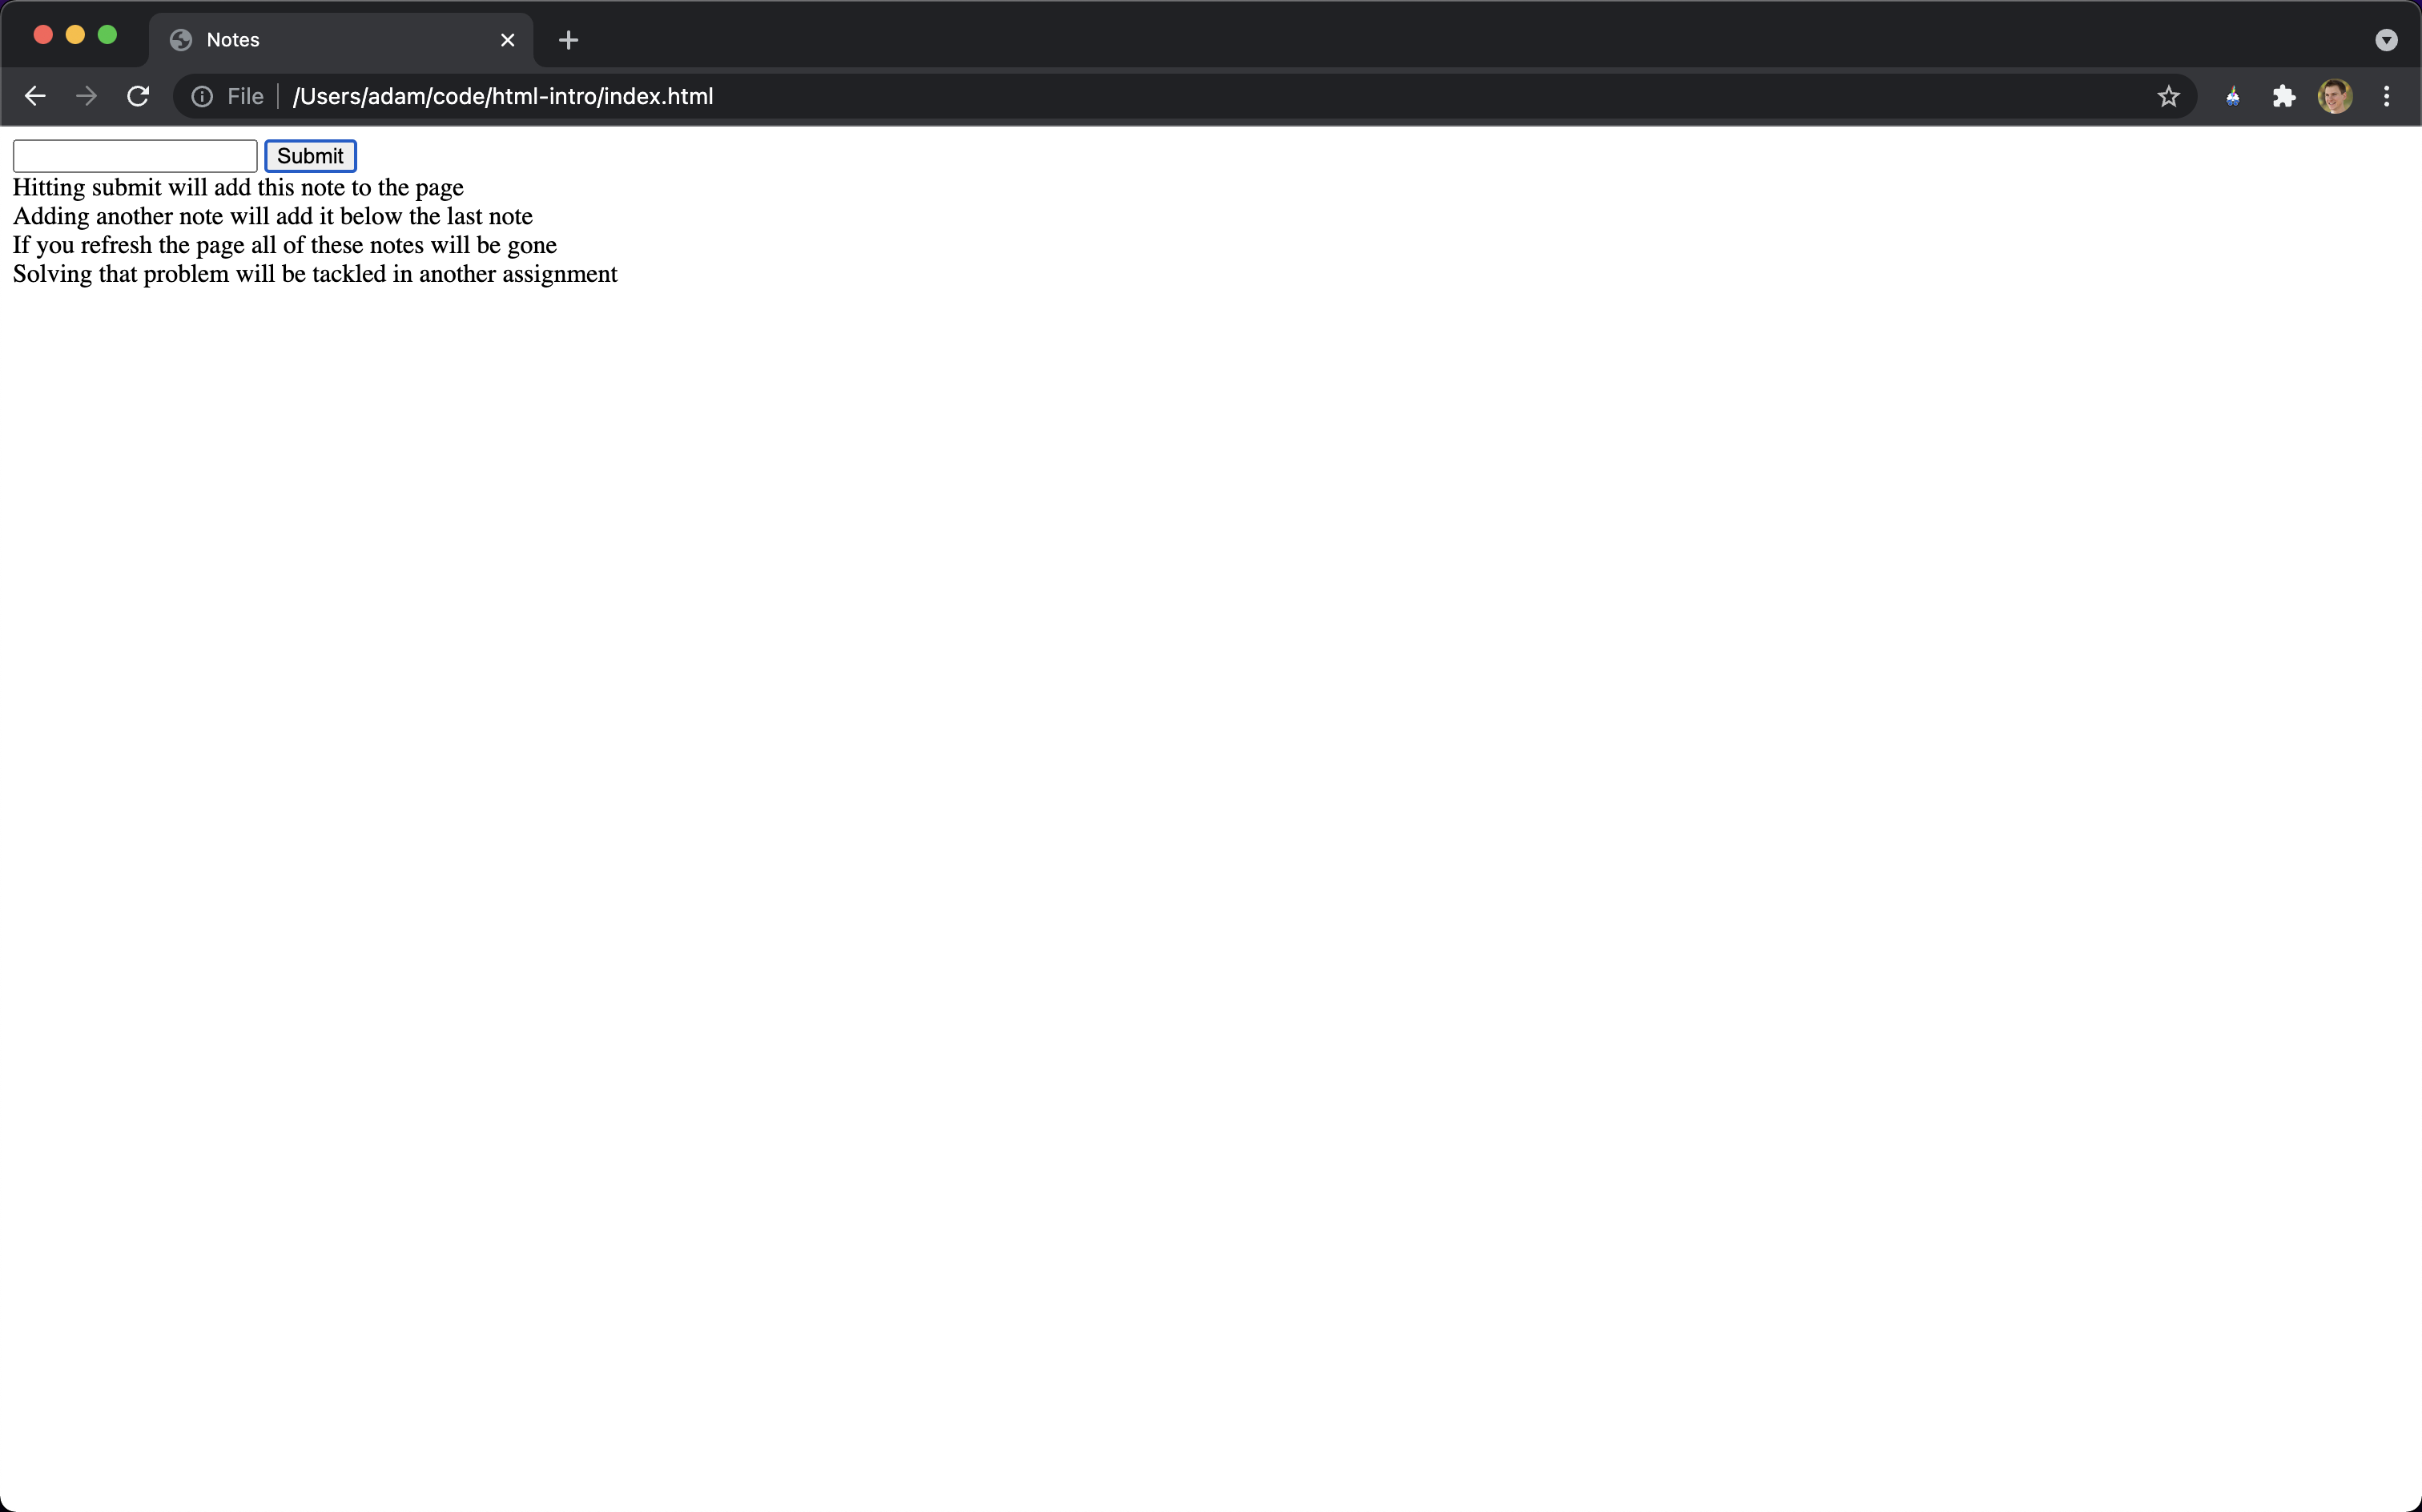
Refresh you page and check to see that everything works as it should.
Wrap-Up
In this lesson you learned:
- how to use an input element
- how to add a button
- how to add a script to an html document
- how to find elements by id
- how to add a click listener to an HTML element
- how to dynamically add HTML elements to a document using JS
Next
In the next assignment, we will introduce Cascading Style Sheets (CSS) in order to make our web app slightly more visually appealing.